Hi there friends and followers of Cuggles Creations, its Kylie here from Chasing Purple Dreams. I am honoured to have been asked to make a very special announcement here on behalf of Mummy Cuggles.
Yep, you guessed it; the littlest Cuggle is no longer in the oven!!!! A little blue Cuggle has been delivered safely into the world and all reports have him listed as perfect. Toddler Cuggles has taken on the big sister role like a duck to water and Mum and Dad are ecstatic.
There will be a little break in transmission here at Cuggles Creations as they all enjoy their Babymoon. Then we can all look forward to seeing what new Cuggles Creations this little blue bub will inspire!
Congratulations once again guys and welcome to the world little Cuggle, I can’t wait to meet you and have a cuppsy with your Mum.
Tuesday, August 10, 2010


Friday, August 6, 2010
While waiting to give birth....
I'm still here! The Cuggle oven is due to ding in 7 days and I've spent the last couple of weeks offline.
The Cuggle has been in undies for the last 5 days. She's doing really well, though when visiting the Art Gallery today we discovered that the bathrooms are 2 floors down from the Kids' section. Apparently my little Cuggle is not the first to wee on the carpet - derr!
I got the birds up on the wall last week -
Making my Mum-in-Law's Vegetable Lasagne. I had planned on posting the recipe yesterday so I could play along with Emma's new segment of Easy Peasy Dinner Winners where you can find and share some really good family friendly and easy recipes. But, I decided to just be pregnant instead and try another time.
Made another easy recipe, Melt and Mix Honey Cake from an old issue of Donna Hay Magazine. Toddler Cuggle and I enjoyed some for our morning tea picnic in the back yard the other day. Definitely another recipe which I'll have to share at some stage. If you fancy making it in the meanwhile, check out the DH Website.
Finally, I spent hours on the phone to plumbing people on Tuesday because our hot water system broke on Monday night. Thank goodness for great neighbours who let you bath your toddler at their house, shower yourself and send you home with an 'American Brownie Fudge Cake'.
Now, back to more waiting....
: ) Kim
.JPG) |
| My belly, last week. |
While waiting for bub to arrive, I've been sleeping when the Toddler Cuggle sleeps but also have been caught up with other things...
 |
| Bunnies salvaged from a stained bib, ready to sew on some training undies. |
I got the birds up on the wall last week -
 |
| Click the link above for the tutorial |
 |
| Layered and ready for the oven |
 |
| Melt and Mix Honey Cake, yes the fruit got eaten too! |
Now, back to more waiting....
: ) Kim
Thursday, July 22, 2010
My Creative Space: Witchy Woman Tea Cosy meets Scotsman
 |

Oh, and speaking of, this very same witchy woman saw me yesterday morning and predicted the baby to arrive within a few days. At 37 weeks, I'm not sure whether to question the quality of her 'eye of newt' or to finish packing my hospital bag!
Thanks again Kirsty for hosting My Creative Space.
Tuesday, July 20, 2010
Farewell Handmade Heaven, for now.
Today is my last day at Handmade Heaven before our newest Baby Cuggle arrives.

I don't really feel sad, the shop is a wonderful happy place where customers are relaxed and in good spirits. If they're rushing to find a last minute gift they appreciate help and ideas. If they're in for a play and a looky at what's new they often stay for ages, chatting and admiring all the gorgeous handmade things.


If they're new to the shop, they gush over what an amazing find it is and when they leave, it is with the promise of coming back with their girlfriends, their husbands, their mothers, sisters, aunties or their kids.... and they do and they become one of 'our regulars'.
Why not visit Liesa's beautiful shop or blog to see so much more. You can make it into a good shopping expedition with sustenance just next door at di.licious.
Thank you Liesa for your friendship, your vision, your flexibility, your trust. I always have so much fun here and today will be no different.
Big hugs and kisses,
Kim : )

I don't really feel sad, the shop is a wonderful happy place where customers are relaxed and in good spirits. If they're rushing to find a last minute gift they appreciate help and ideas. If they're in for a play and a looky at what's new they often stay for ages, chatting and admiring all the gorgeous handmade things.

Gratuitous shot of Crayon Roll by Cuggles!Kids.

A freestyle crocheted beanie by Kylie. I barely took mine off my head last week.
 One of many gorgeous little outfits by Rachael. She finds the best vintage fabrics!

If they're new to the shop, they gush over what an amazing find it is and when they leave, it is with the promise of coming back with their girlfriends, their husbands, their mothers, sisters, aunties or their kids.... and they do and they become one of 'our regulars'.
Why not visit Liesa's beautiful shop or blog to see so much more. You can make it into a good shopping expedition with sustenance just next door at di.licious.
Thank you Liesa for your friendship, your vision, your flexibility, your trust. I always have so much fun here and today will be no different.
Big hugs and kisses,
Kim : )
Monday, July 19, 2010
At My House: Fun Stuff, Trackies, Fire and Scrubbing!
We've had a break in routine today and are staying home instead of doing our usual Monday run around. I've made Toddler Cuggles a colouring book (instructions at the end of this post) to keep her amused while I nest/clean/bake today, ....


TO MAKE THE COLOURING BOOK:
Time: 20 mins including time for answering the question - 'What are you doing Mum'? over and over.
I googled Free Colouring Pages, chose a few images and printed them out.
Then I covered a manilla folder (tea cup fabric that I've been saving for just such a project). I sewed the fabric on in the same way you'd attach contact. I also folded the raw edges over on the inside (see top picture) twice just to make it neat and ironed it before sewing on the longest stitch my machine does.

I added some ribbon through the slits where the bendy tie thing would normally go on the inside to hold the pages in place and so we can keep adding to it. (Again, see top picture).
Must be time to get some more washing out of the machine. Why don't you visit Lou's to see what else is happenning today.
: )
Kim

We will crack open the cinnamon scented, glitter playdough (purchased from Kylie through Handmade Heaven) a bit later....JPG)
.JPG)
And because it's a bit chilly, we have the fire going and have let the dog inside to indulge in the warmth with us.

Time: 20 mins including time for answering the question - 'What are you doing Mum'? over and over.
I googled Free Colouring Pages, chose a few images and printed them out.
Then I covered a manilla folder (tea cup fabric that I've been saving for just such a project). I sewed the fabric on in the same way you'd attach contact. I also folded the raw edges over on the inside (see top picture) twice just to make it neat and ironed it before sewing on the longest stitch my machine does.

I added some ribbon through the slits where the bendy tie thing would normally go on the inside to hold the pages in place and so we can keep adding to it. (Again, see top picture).
Must be time to get some more washing out of the machine. Why don't you visit Lou's to see what else is happenning today.
: )
Kim
Thursday, July 15, 2010
My Creative Space: My first Tutorial - Little Birds
Making these little birds is part of my whole 'nesting' thing. As promised yesterday here's the tutorial. These are pretty quick to put together, about 20 minutes if you do one at a time, so probably quicker if you do a few in bulk. I've added pictures and some more detail to an already good pattern which I found here.
LITTLE BIRD TUTORIAL
1) Download the pattern, print it and cut out the 2 paper pieces.
2) Cut out your 2 fabric pieces, note one piece is on the fold.
I used medium size fabric scraps (quilting cotton). My scraps are all shoved into bags, so I made sure I ironed the fabric well before cutting. This made sure my pieces lined up nicely as there is a bit of shaping to be done. Don't worry, pretty easy though.


LITTLE BIRD TUTORIAL
1) Download the pattern, print it and cut out the 2 paper pieces.
2) Cut out your 2 fabric pieces, note one piece is on the fold.
I used medium size fabric scraps (quilting cotton). My scraps are all shoved into bags, so I made sure I ironed the fabric well before cutting. This made sure my pieces lined up nicely as there is a bit of shaping to be done. Don't worry, pretty easy though.

3) Right sides together, pin the pieces together along one side.
Start with the tail and finish where the dot is marked on the pattern. It's a bit trickier than pinning two straight lines together but quite easy if you do this - pin one small section at a time, not worrying about the next bit ahead. Bend the fabric over your fingers one way or the other to allow the curved edges to line up.

4) Sew along where you've just pinned.
The pattern says to use a 1/4" seam allowance. That's just over 0.5cm. I used the edge of the machine foot as a guide. Don't make it too narrow because you don't want the stuffing to bust the seam.
5) Pin and sew the other side together in the same way as Steps 3 and 4.
This is what it looks like now.
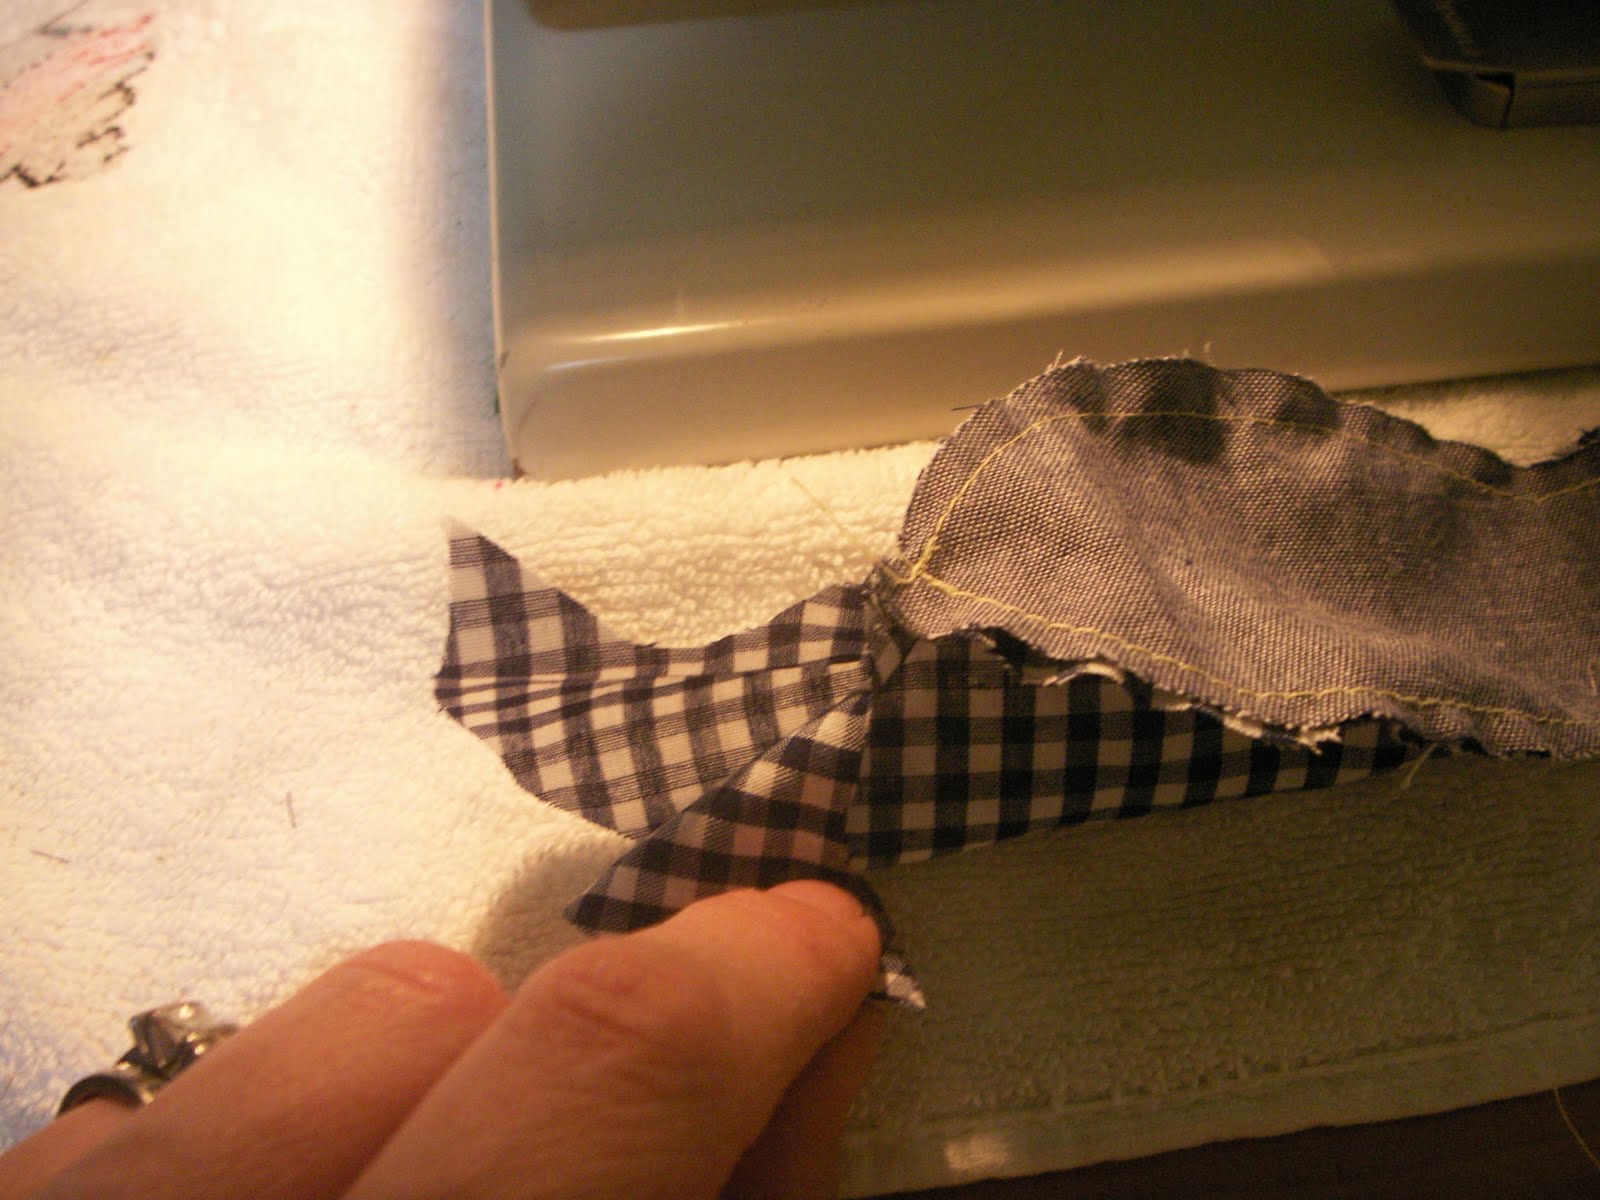
6) Pin the head seam. Sew together using the same seam allowance as before - about 0.5cm.

This is what it will look like now. *Note that the tail end is left open.

7) You might want to clip/notch the curves now but it's not really necessary. Turn it right side out and use a knitting needle (or something similar) to gently push out the point of it's beak and all the curves.
8) Stuff wadding/tontine through the tail little bits at a time:
I'm no expert but I take off pieces about as big as 1 or 2 cotton balls, fluff it up just to separate the fibres slightly and then push the first bits right to the end to fill out the beak and so on. I use a bit of a massage technique to make sure the stuffing is firm, but not jammed in there too tightly. If it's too tight, it will still work but will probably end up lumpy.
Here's what it should like like now.

9) Sew the tail closed:
I'm pretty sure most softie experts would tell you to slip stitch (hand sewing - agghh!) this section however I did no such thing. I folded the ends in about .5 to 1cm making sure the edges joined neatly, then put it under the sewing foot and sewed as close to the edge as possible. No picture of this I'm afraid so you'll have to trust me that it works. It won't be invisible like hand sewing but is probably stronger.
10) Admire your efforts and make yourself a lovely cup of tea for being so clever. 

Hope you found this useful and fun. Please let me know if you have any trouble and I'll do my best to help.
Thank you Kirsty for hosting this fun game of My Creative Space.
: ) Kim
Wednesday, July 14, 2010
Nesting: The Woman's Way
You may remember Hubby has been nesting. Now, at 36 weeks it's time for show and tell about how I've been preparing...
 Tutorial for these little birds tomorrow!


 (Thank you Tash)
...creating some special things...
 Tutorial for these little birds tomorrow!
Pictures from a 20c op shop book, in $1 op shop frames, painted white.

...enlisting help to move furniture...
 (Thank you Tash)
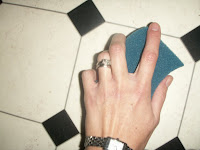
 .... scrubbing the kitchen in a mad frenzy late at night (not a good sign with 4 weeks still to go).

... and, um, falling asleep at every given ......zzzzzzzzzzz. Huh? Time for a cuppsy tea?
Don't forget to come back tomorrow for the little bird tutorial. : ) Kim
Subscribe to:
Posts (Atom)
LinkWithin
