Making these little birds is part of my whole 'nesting' thing. As promised
yesterday here's the tutorial. These are pretty quick to put together, about 20 minutes if you do one at a time, so probably quicker if you do a few in bulk. I've added pictures and some more detail to an already good pattern which I found
here.
LITTLE BIRD TUTORIAL
1)
Download the pattern, print it and cut out the 2 paper pieces.
2) Cut out your 2 fabric pieces, note one piece is on the fold.
I used medium size fabric scraps (quilting cotton). My scraps are all shoved into bags, so I made sure I ironed the fabric well before cutting. This made sure my pieces lined up nicely as there is a bit of shaping to be done. Don't worry, pretty easy though.
3) Right sides together, pin the pieces together along one side.
Start with the tail and finish where the dot is marked on the pattern. It's a bit trickier than pinning two straight lines together but quite easy if you do this - pin one small section at a time, not worrying about the next bit ahead. Bend the fabric over your fingers one way or the other to allow the curved edges to line up.
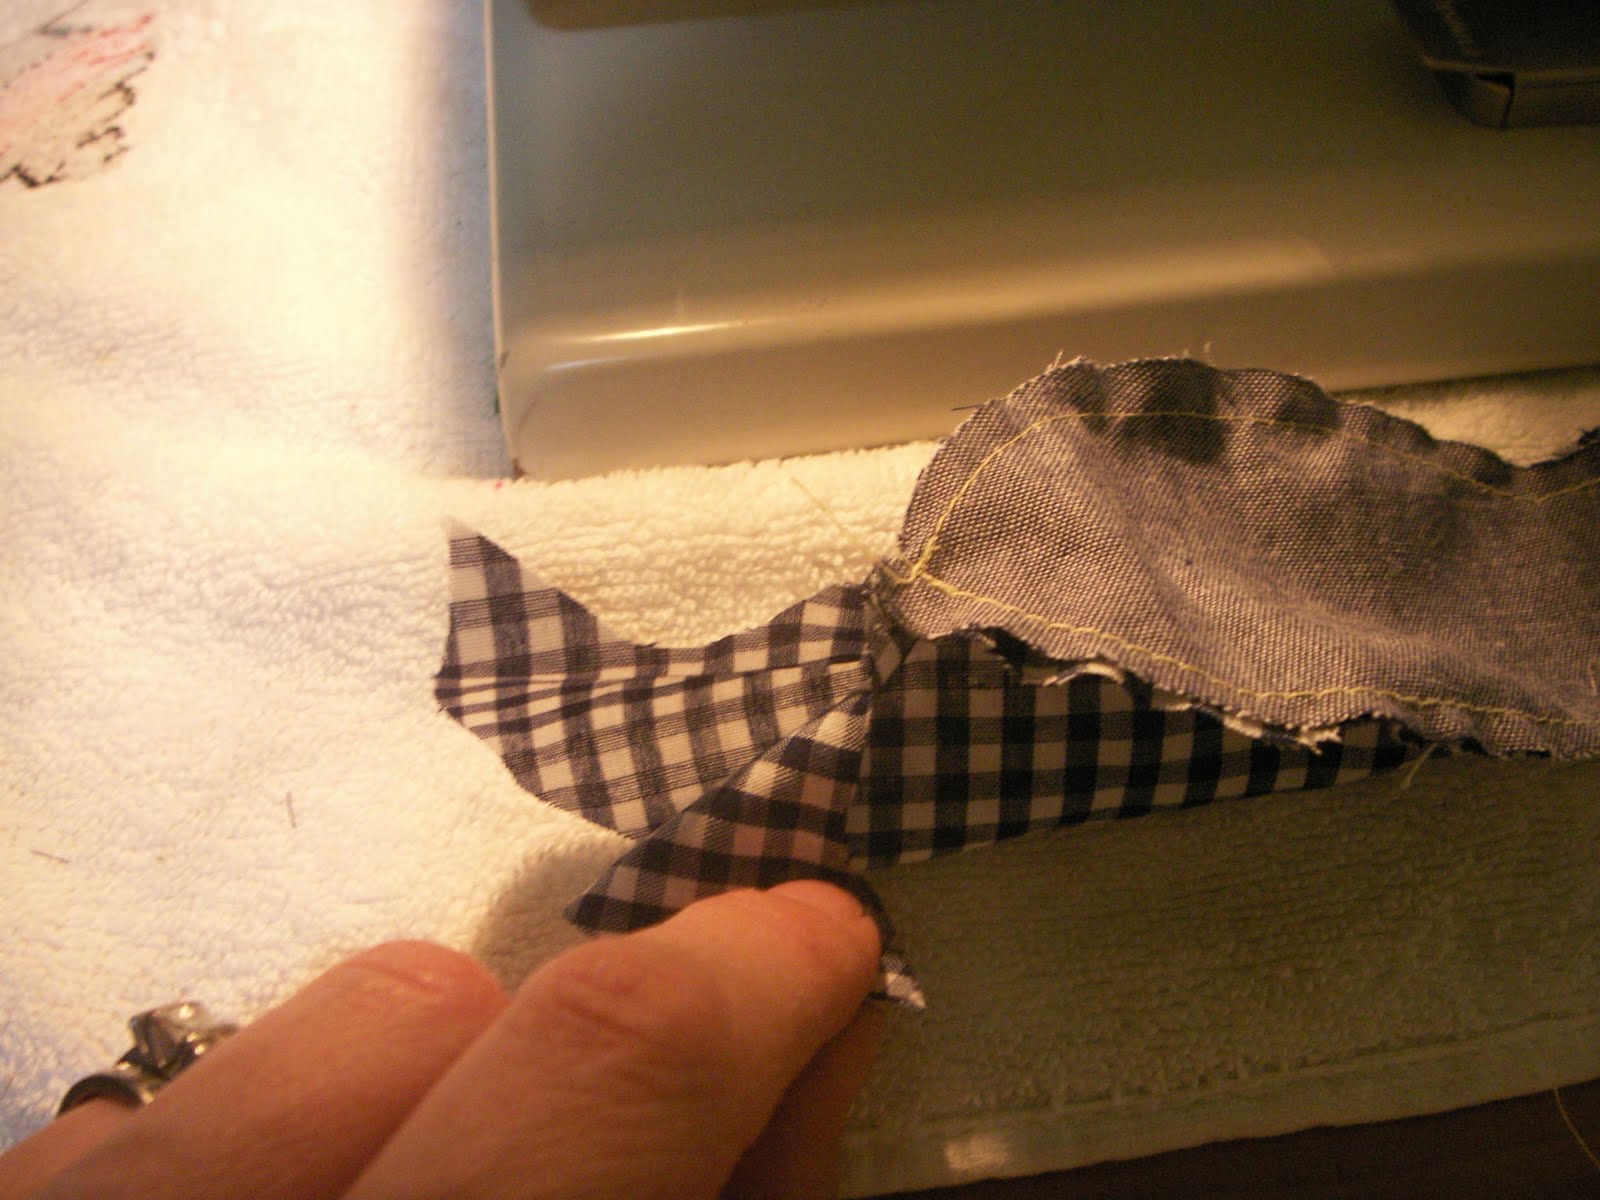
4) Sew along where you've just pinned.
The pattern says to use a 1/4" seam allowance. That's just over 0.5cm. I used the edge of the machine foot as a guide. Don't make it too narrow because you don't want the stuffing to bust the seam.
5) Pin and sew the other side together in the same way as Steps 3 and 4.
This is what it looks like now.
6) Pin the head seam. Sew together using the same seam allowance as before - about 0.5cm.
This is what it will look like now. *Note that the tail end is left open.
7) You might want to clip/notch the curves now but it's not really necessary. Turn it right side out and use a knitting needle (or something similar) to gently push out the point of it's beak and all the curves.
8) Stuff wadding/tontine through the tail little bits at a time:
I'm no expert but I take off pieces about as big as 1 or 2 cotton balls, fluff it up just to separate the fibres slightly and then push the first bits right to the end to fill out the beak and so on. I use a bit of a massage technique to make sure the stuffing is firm, but not jammed in there too tightly. If it's too tight, it will still work but will probably end up lumpy.
Here's what it should like like now.
9) Sew the tail closed:
I'm pretty sure most softie experts would tell you to slip stitch (hand sewing - agghh!) this section however I did no such thing. I folded the ends in about .5 to 1cm making sure the edges joined neatly, then put it under the sewing foot and sewed as close to the edge as possible. No picture of this I'm afraid so you'll have to trust me that it works. It won't be invisible like hand sewing but is probably stronger.
10) Admire your efforts and make yourself a lovely cup of tea for being so clever.

Hope you found this useful and fun. Please let me know if you have any trouble and I'll do my best to help.
: ) Kim